“Being forced to confront the prospect of failure head-on – to study it, dissect it, tease apart all its components and consequences – really works. After a few years of doing that pretty much daily, you’ve forged the strongest possible armor to defend against fear: hard-won competence.”
— Chris Hadfield
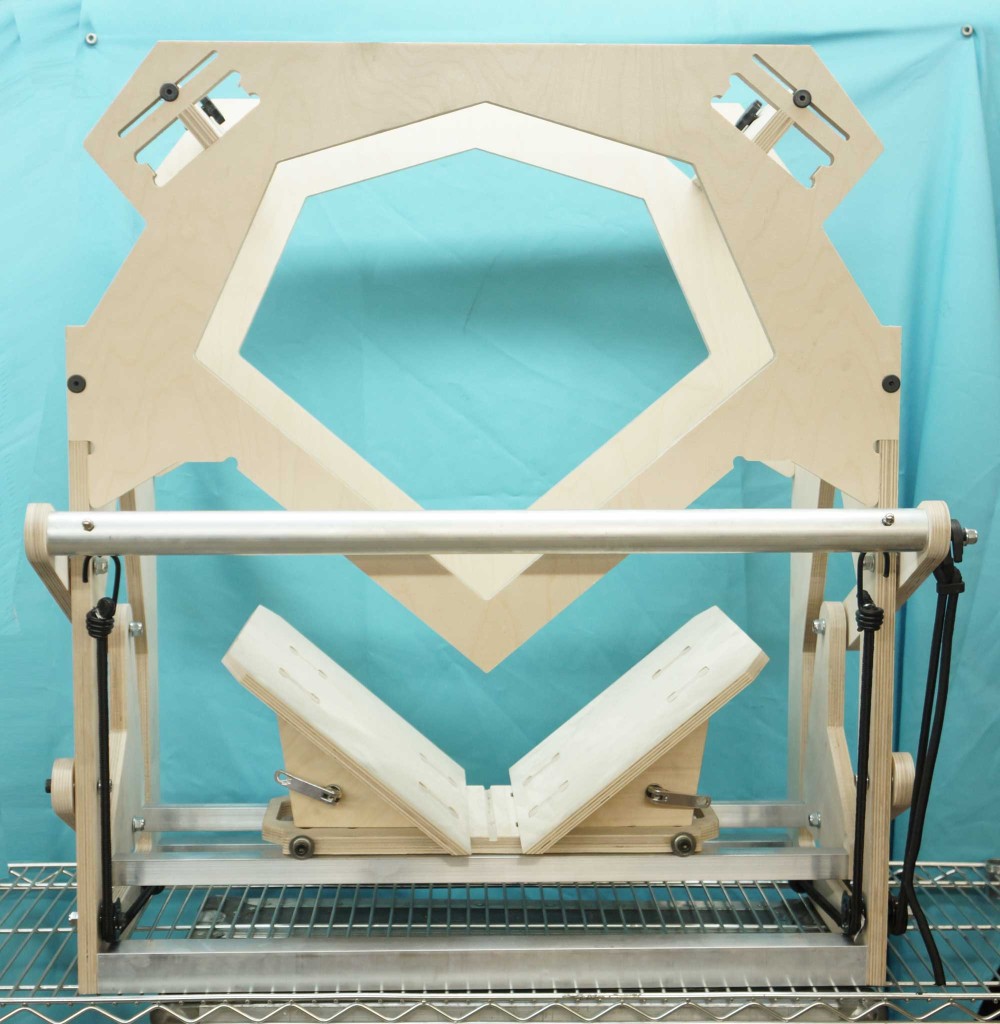 A little background. This scanner is made of plywood. It’s plywood because plywood is available worldwide, affordable for the hobbyist, and can be processed (if necessary) with hand tools. Baltic Birch plywood is one of only two plywoods you should consider for a design like this one (the other being EuroPly). When it’s been stored properly, it’s very flat. It’s incredibly strong. It’s dimensionally stable. It’s relatively affordable (50-80USD per sheet at the time of this writing), and comes in two main sizes (4×8′ sheets and 5×5′ sheets, made in different factories). It’s available across the US from specialty lumber houses and it processes well at speeds of up to 120 inches per minute with a 1/4″ downcutting end mill. In other words, it’s perfectly suited to hobbyist machines. My original intention, in choosing plywood as the main structural material in the build, was to have a “100k garages“-like network of local manufacturers who could produce them within driving distance of your location, anywhere in North America. I would be just one of these garages.*
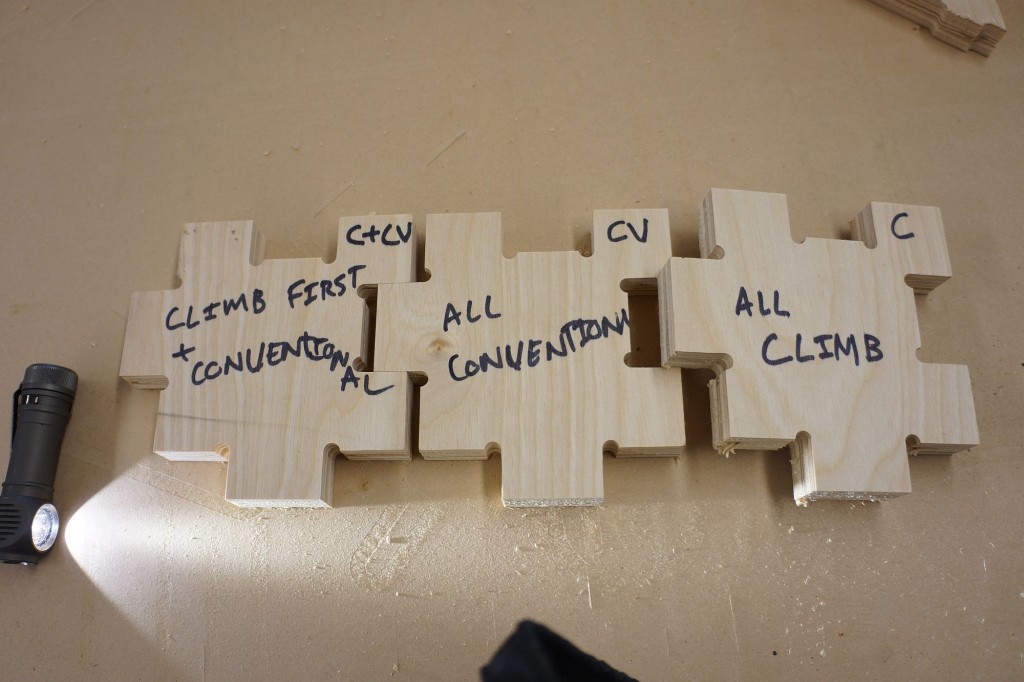
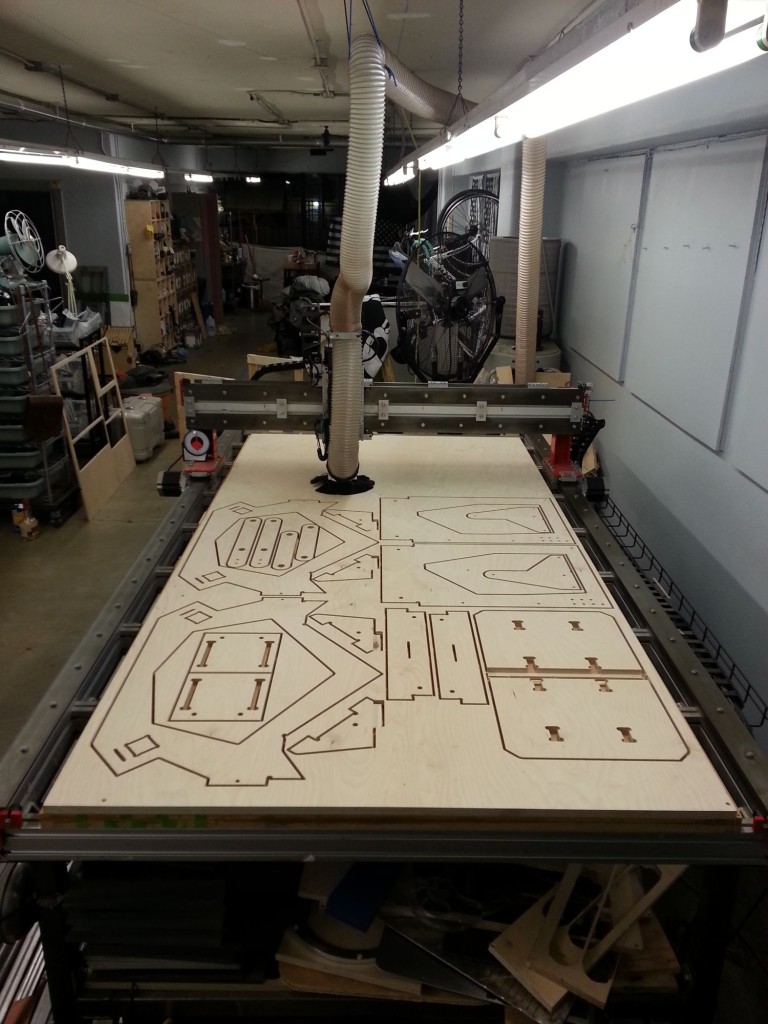 I prototyped via CNC routing with a 12,000RPM spindle and a 1/4″ double-flute downcutting router bit (use Onsrud cutters if you can). My router is a CNCRouterParts CRP4896 – as far as I know, it was the first of its type in existence. My manufacturing partners used a variety of other setups, but the same bits and mostly the same speeds and feeds. Over time, I came to regard CNC routing as highly unreliable. Not for me, mind you, but for everyone else. For whatever reason, I could always get perfect results at home, but my manufacturing partners couldn’t. I’d get parts with oblong holes, incorrect and inconsistent cut depths, “hairy” edges, and other fit and finish problems. After fielding many excuses from several different shops, I set out to reproduce those results on my own machine. I sussed out each issue, one at a time – and most of them were just sloppy work and laziness, like climb milling instead of conventional milling, pushing a cutter way to hard (and flexing it) or worse (and least forgive-able, using a dull bit (which can look like any of these problems, but additionally usually shows the “hairy edge” as well as burning).
I also need to comment on one excuse that came up over and over again.
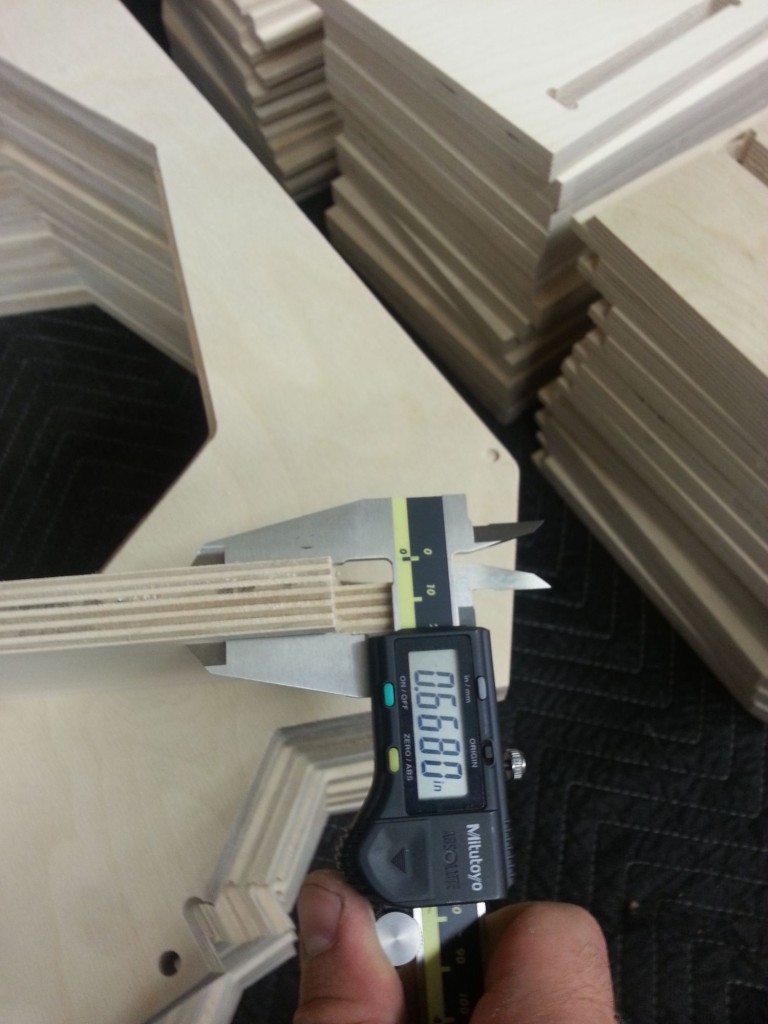
The thickness of 18mm Baltic Birch plywood. Every shop I worked with blamed the manufacturing issues on variations in sheet thickness and inter-sheet thickness (in other words, some sheets are thicker than others, and a sheet might be thicker in the middle than at the edge).
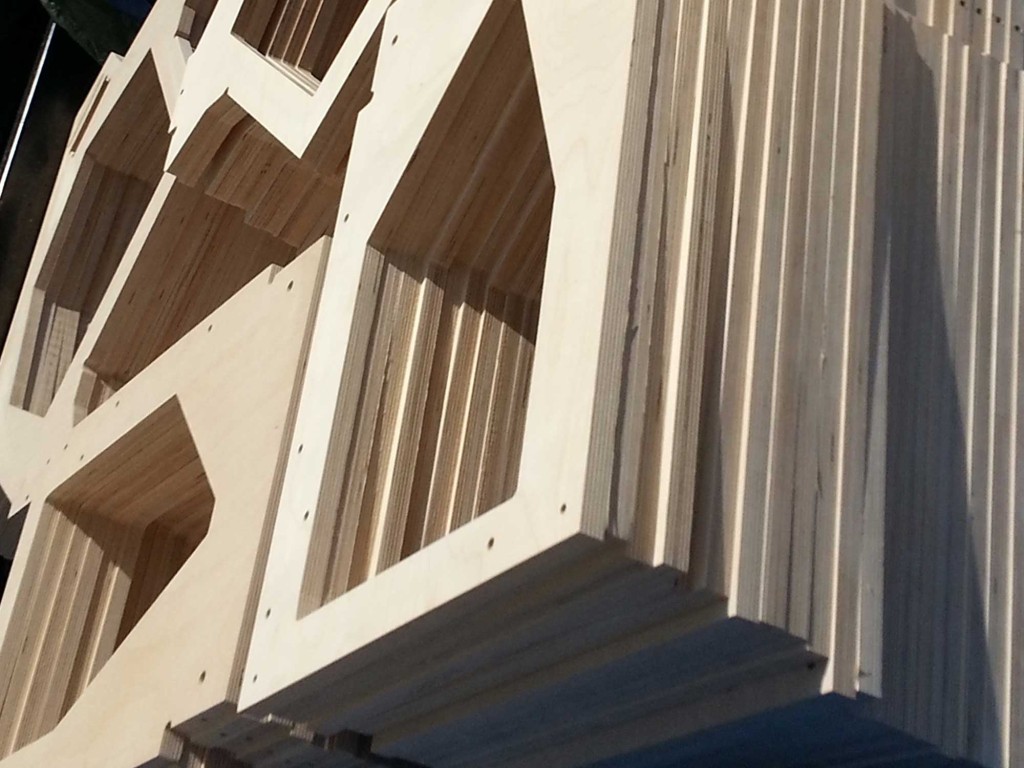
Well, over 3 years and 33 sheets of plywood that I used for prototyping, I did some statistics, and basically found that the standard deviation is around .3mm (so around .9mm total) . For these kinds of parts, and the way I designed them, that is simply not a significant number. The Archivist has no pocket or channel that is critical (in DEPTH) to even 1mm. Here are the data:
 The numbers show conclusively that these shops were doing a poor job — sheet thickness was not to blame. They were using dull bits (which result in undersize holes and oversize outer diameters). They were doing a poor job of clamping the plywood sheet (so that it would pull up when they used an upcutting router bit). They were running the machine too hard (so that the cutting forces were causing the cutters to flex), or they were not routing parts at all, and were in fact cutting them on table saws and drill presses to save time.
Postscript: My router has been pretty painless, but once in a while I would suffer problems similar to those suffered by my manufacturing partners. A failed gear, bad belt, or other problem could really, really slow things down.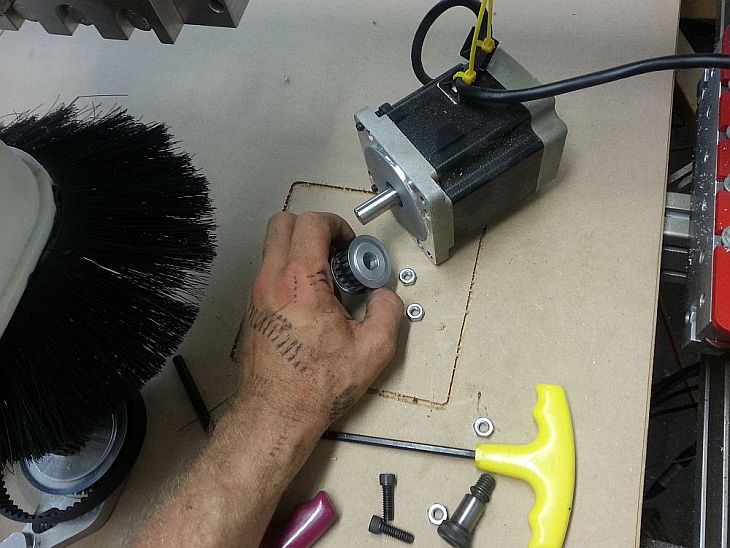
So the universe is not quite as you thought it was. You’d better rearrange your beliefs, then. Because you certainly can’t rearrange the universe.
— Isaac Asimov
WATERJET
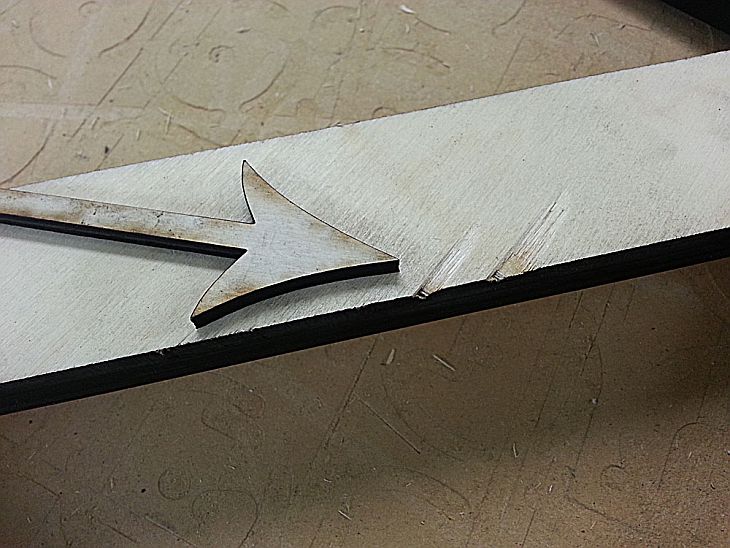
So the next manufacturing method that I explored was waterjet cutting. And waterjet does actually work for plywood, with a few key limitations. The most important one is that piercing for holes can delaminate the wood pretty easily. The second problem is that the wood parts must be left outside to dry, or dried in general, which means that it’s only a practical production method in Southern California. Finally, the general costs of waterjet are very high. For a set of wood parts like the one on the Archivist, costs in my area tended to run around $400/set. Too high for production, probably OK for a hobbyist with deep pockets. I also had ABS waterjetted at a local shop that I hold in very high regard, but got inconsistent results from them. Here is a typical problem part, where some internal corners were rounded out. 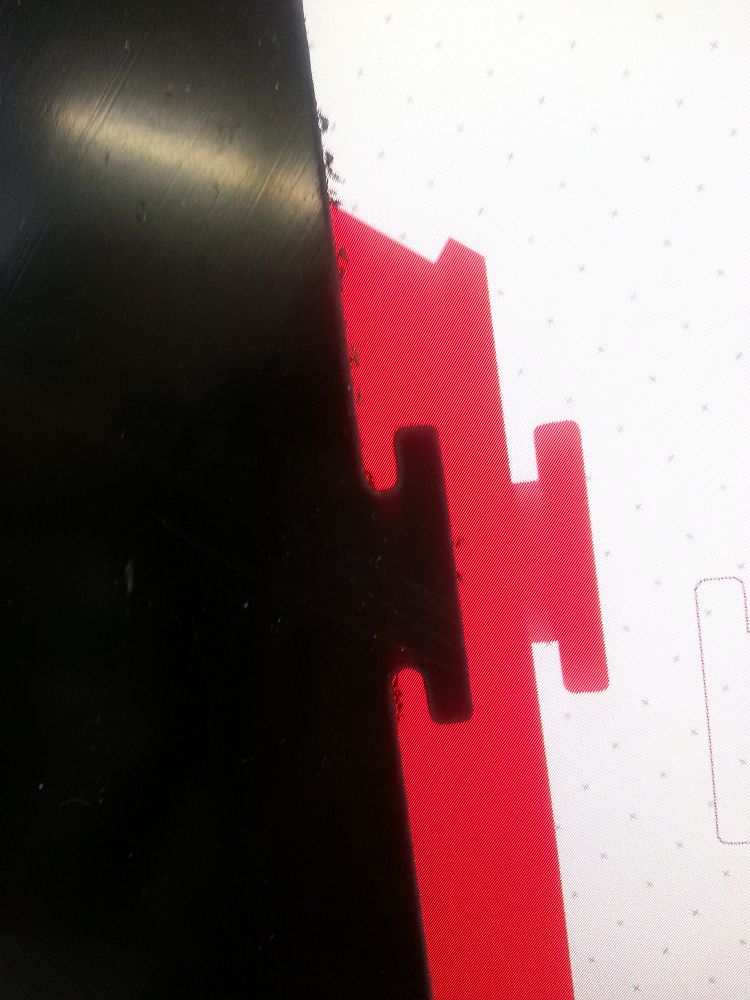 My suspicion is that the shop simply ran the machine too fast or with incorrect acceleration/deceleration settings. The result was that I had to spend a whole day filing out those internal corners in order to deliver on time. In the end, it turned out that waterjet cutting was most cost-effective and sensible on a single part in the machine – the FR4 lighting holder. It was exactly the right choice because FR4 can easily dull a router bit, and it also produces really nasty micro glass fibers when you route it. Waterjet eliminates the dust and produces beautiful part edges, all in one pass.
LASER CUTTING:
Walk, don’t run to your local laser job shop. I don’t mean some maker-space or hacker-thing where they bought a laser for $500 from China. I don’t mean your friend with the old parallel-port Universal laser. I mean a shop that specializes in cutting steel, and has Mayak or Mitsubishi or Beam Dynamics machines. Where 1KW is a small number. These shops can work magic. I had 18mm thick wooden parts fabricated on a 2KW laser designed for cutting steel. It produced an incredible edge that needed no further finishing. While I could no longer make pockets using this method, for the most part, I was able to design around it. The increase in part quality and uniformity over CNC routing and waterjet was truly remarkable. The laser makes basically the same perfect part every time, and in quantity (20+sheets of material at a time) the price went down pretty dramatically. The edges needed no further finishing before they were painted.
Where the laser fails, it does fail pretty dramatically. The below defects are called “tearout”, and they typically happen where there is a nonuniformity, air gap, or bit of plaster filler in the plywood. The laser cannot fully cut through the material when in encounters a nonuniformity like these, so when the part is removed from the surrounding material, a little tab tears out.
Fortunately, this is something you can solve pretty easily by simply increasing the power. 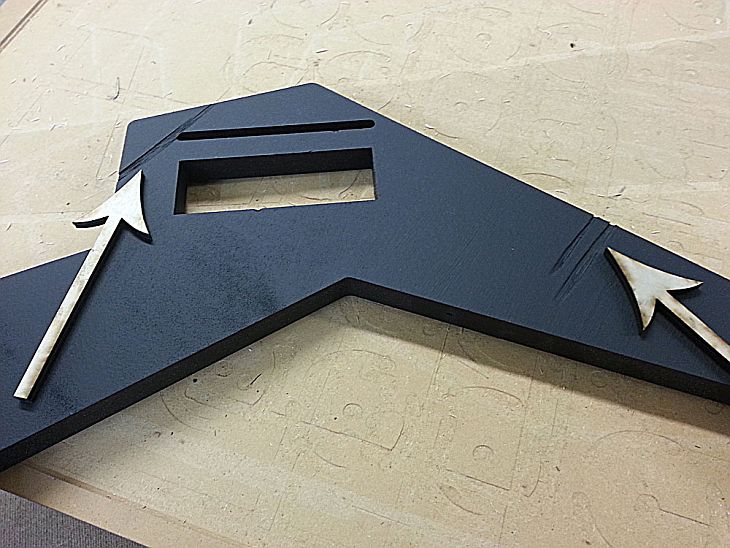
With the waste material, you can have a bonfire.
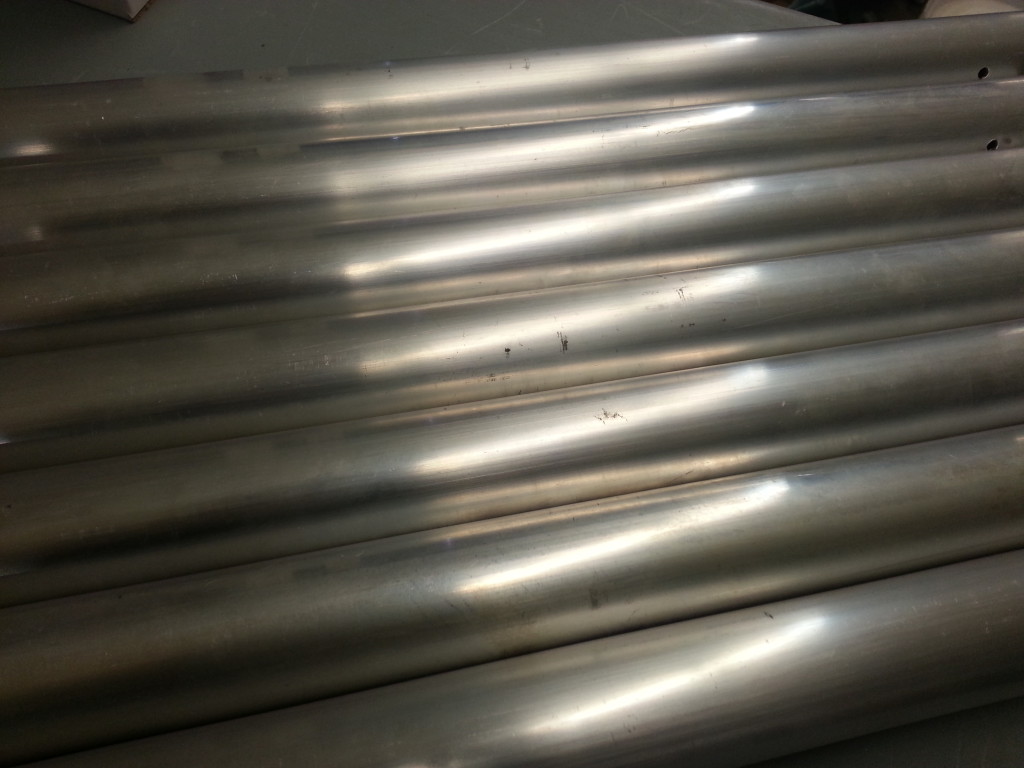
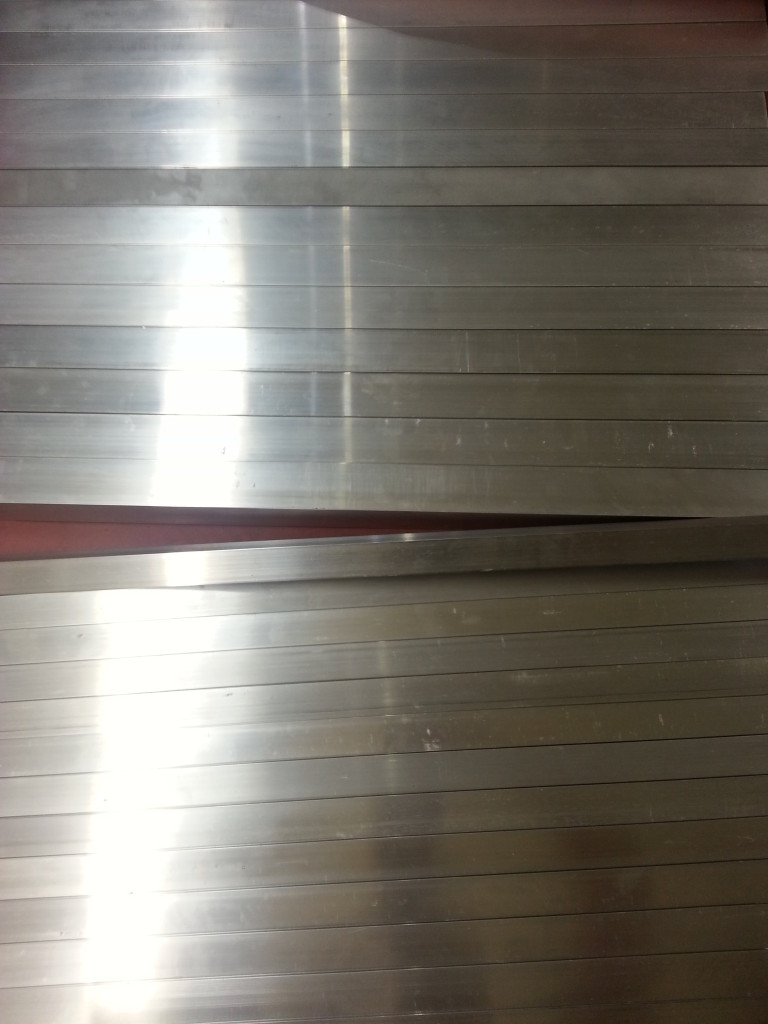
Another issue had to do with the metal tubes. They were cut from aluminum that came straight from the mill, but even with only one or two transport steps between the mill and the saw, the metal was marred up by the straps that held it. The ultimate solution to this is to have the parts powder-coated, which requires that the surface be cleaned, degreased, and sandblasted. To keep costs low, I sent out the best parts first, and otherwise hand-buffed them with a green Scotch pad to remove any really heinous marks. The way the kit is designed, these parts have no optical effect, so they do not need to be painted black. I did powdercoat one set of parts black, which would have been economical in quantities of 200 or 300 at a time, but I never got to that volume month-to-month.
*I hope this material information explains my choices to even the most technical audience, but for those of you with a little poetry in your souls, I hope you can see why I thought it was awesome to make a book scanner from the same material as books.
